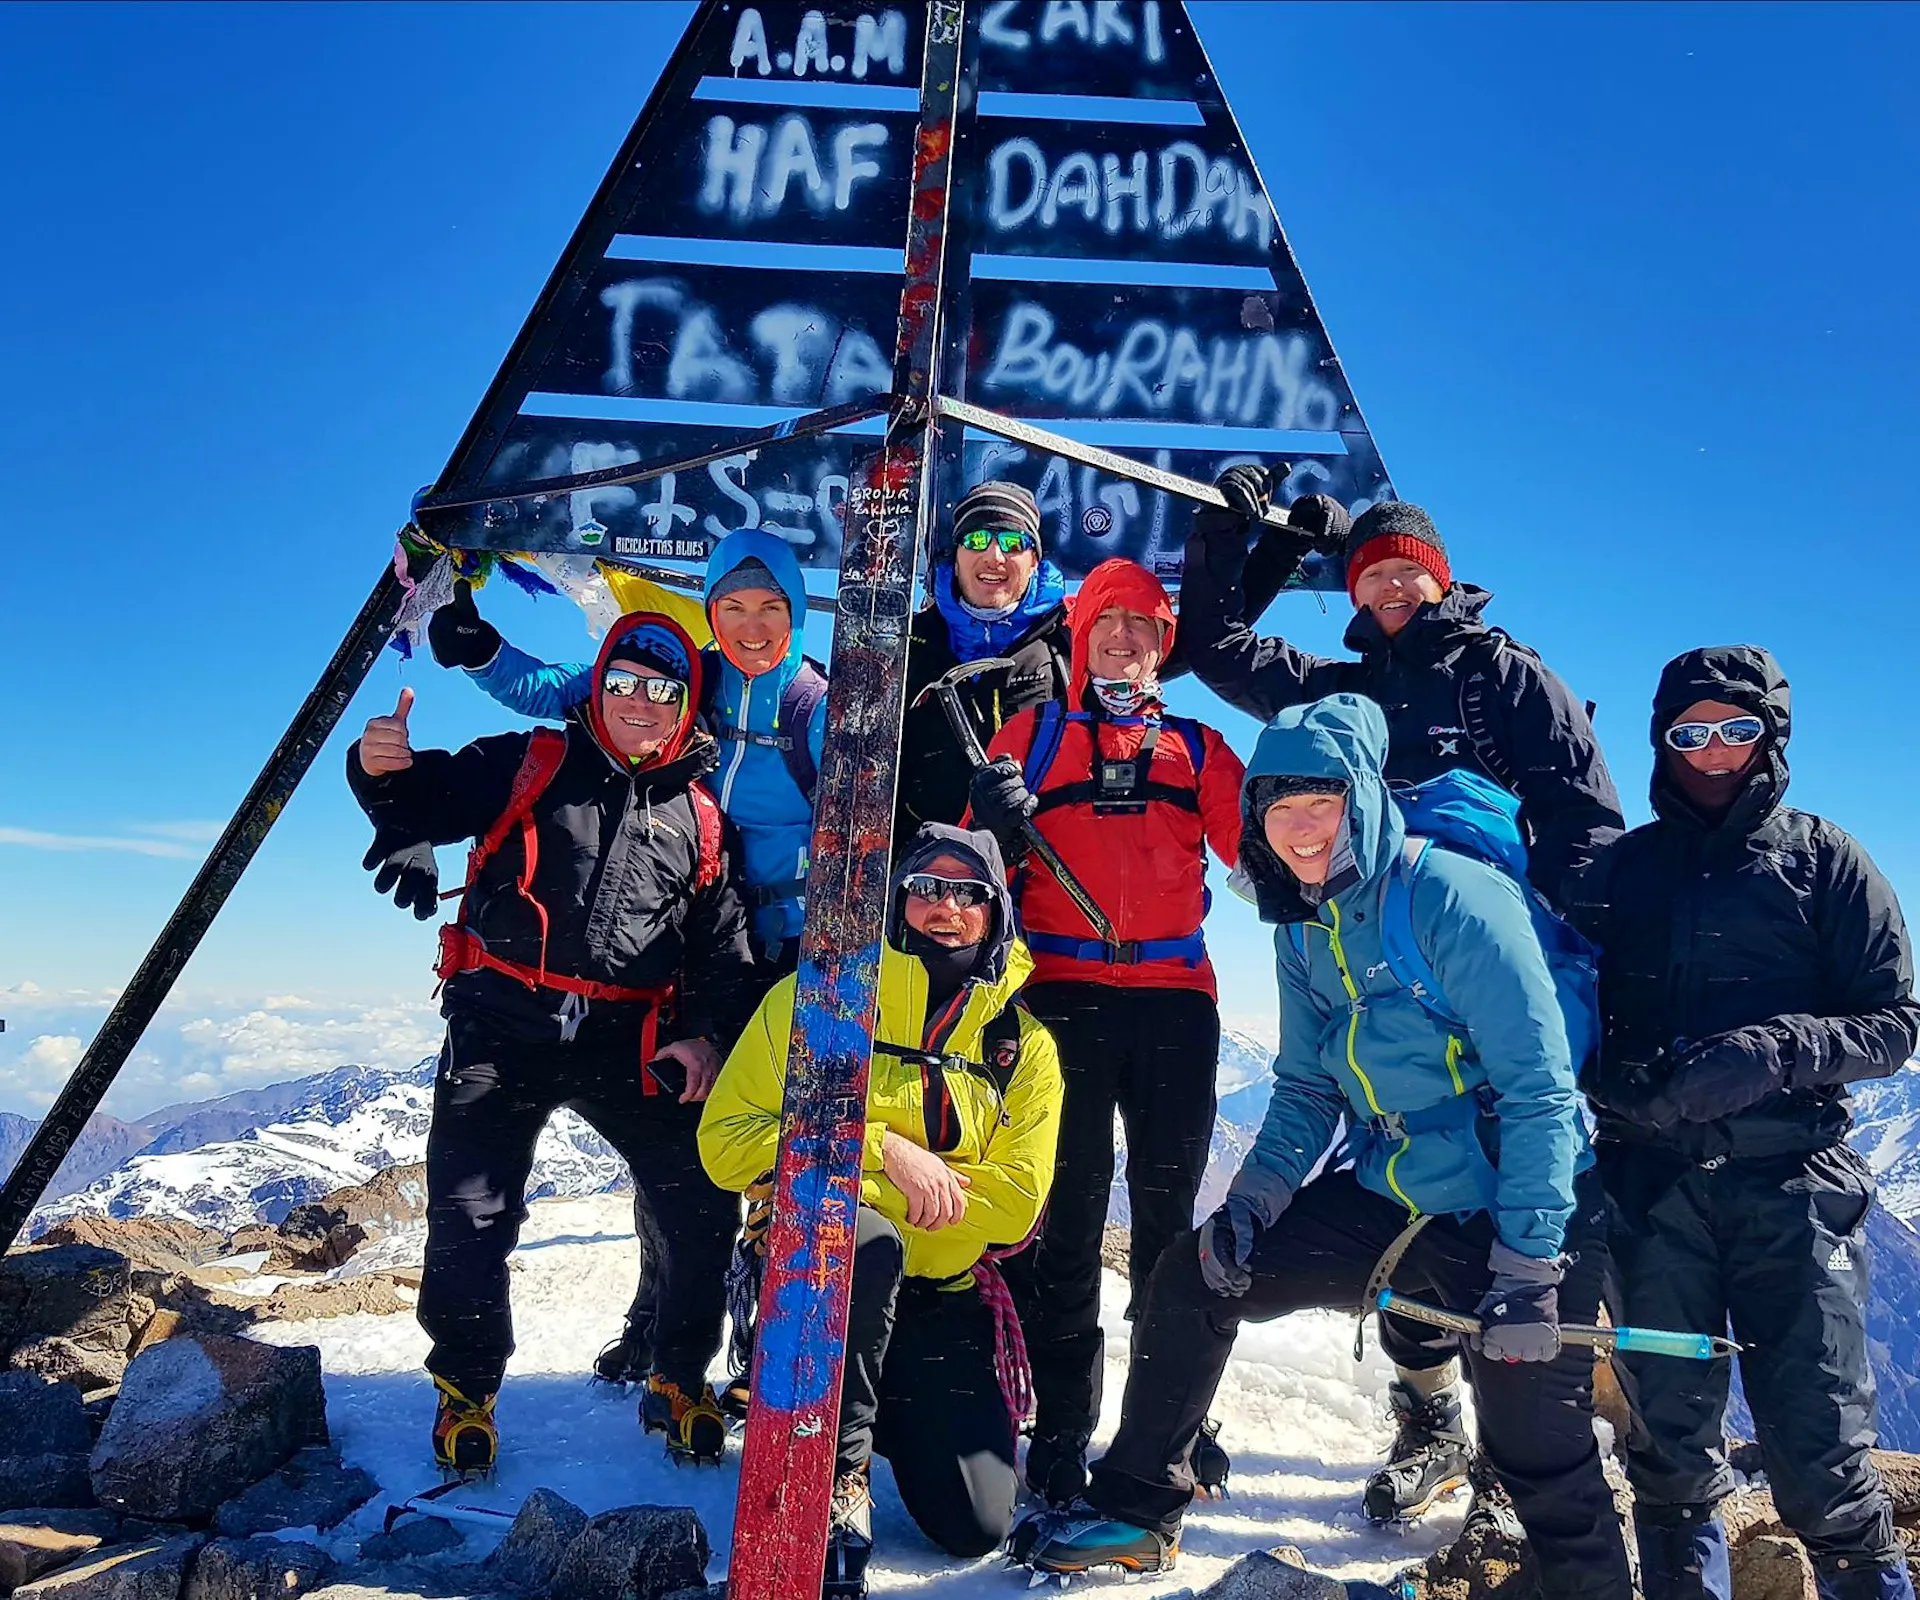
Climbing Aconcagua is a challenging and yet rewarding adventure. Being one of the iconic seven peaks and the highest point in the Western hemisphere, it is a popular South American destination for veteran and upcoming mountaineers.
At
Skyhook, a question we get asked a lot is if you can hike this mountain without a guide. Yes,
you can hike Aconcagua without a guide.
But, the truth is it's a much safer and better experience when you hike with a professional guide. It can be a dangerous trek, and having someone with you who truly knows the route, terrain and weather is the best way to ensure safety, and gives you better odds of reaching the summit.
While we don't recommend climbing the mountain unguided, we've broken down what it would take to do so below.
How to Climb Aconcagua Without A Guide
1. Get Sufficient Training
Guided or unguided, Aconcagua will require lots of uphill walking. And once you get to the summit, the altitude and subzero temperatures can sap your body’s strength rapidly.
To make it to the summit, you will need excellent leg strength and aerobic fitness to avoid strain and falling.
Additional tips to increase your physical readiness for your solo Aconcagua adventure are:
For cardio, you can run, cycle, or ski, while being careful to avoid straining and injury.
Some sections on your route will require crampons, so practice wearing and walking in them before your trek.
Build endurance for carrying your backpack by training with one uphill or on stairs, starting with a light one and gradually increasing its weight until you can carry at least 12kg comfortably. 800g ankle weights can also help you cope with walking in boots.
Eat a balanced diet and sleep 8 hours a day.
Consume plenty of water to train your body how to hydrate.
You also want to prepare yourself psychologically. Some days will be dull with grey skies, fierce winds, and low temperatures, and getting good quality sleep at high altitude will prove tough. Trudging through the ice for days on end can also take a toll on you, and so will the fatigue on the nearly 20-day trek.
Plan to help you cope with any contingencies, such as an injury, fatigue, or sickness. Before you embark on your trip, assess yourself to determine whether you are adequately fit and healthy as Aconcagua is known to be harsh to anyone who shows up in poor shape.
2. How to Get to the Base and Set Up
The
Aconcagua climbing season is the Southern Hemisphere summer (November 15th to March 31st) with the high season falling between mid-December and the end of January.
You can fly into Mendoza, Argentina, from where you will take a bus to Puente del Inca so you can hike to the summit on the Normal Route or to Penitentes to scale the Polish Traverse, Polish Glacier, or Vacas Routes.
All climbers (whether or not they have a guide) need to purchase a permit from the Argentinian government that costs between $800 and $1,100 depending on trek length and route. You can obtain yours from the Dirección de Recursos Naturales Renovables (Renewable Energy Resources Bureau) offices on 1143 San Martin Avenue, Mendoza.
You will show your passport, proof of insurance that should cover any risk and medical care in case of an accident, and list the equipment you will be using.
You want to choose a route that requires little technical moves like wall climbing so that the stretches requiring ice axes and crampons will not overwhelm you. We'd recommend hiking the Aconcagua Normal Route as it's the least technical of all.
You will also need to figure out your food, accommodation, communications, gear, tents - practically everything before you can begin your hike. You can also hire mules who can help you transport your gear up the mountain.
For instance, you can hire your mule from
Los Puquios to be able to transport bigger loads, including cooking supplies and tents. You can get services in Mendoza that should help you with renting or buying everything cost-effectively.
Latest Deals
Discover trips on sale on Skyhook. Book once-in-a-lifetime adventures at discounted prices.
Here's an itinerary to consider:
Start your adventure in Mendoza and rent any gear you may not have.
Day 1: Travel to Penitentes, and gather your hike permit.
Day 2: Trek to Confluencia (3,300m).
Day 3-4: Acclimatise and prepare for the journey ahead.
Day 5: Follow the Horcones Superior River and ascend to Plaza de Mulas (4,300m).
Day 6-7: Spend time acclimatising, with short hikes to adjust to the altitude.
Day 8: Hike to and from Camp 1 Canada - you can leave your heaviest gear there and acclimatise at Camp 1 Canada for a few days.
Day 9-11: Slowly hike to Nido de Cóndores (5,520m) and acclimatise there for a few days also. You'll notice the air getting thinner, so let your body adjust to that before hiking further.
Day 12: Climb to Berlin/Cólera Camp (5,970m), and rest for a day before the final summit push.
Day 13: Summit day. Start early (around 5:30 am), and push through the thin, cold air until you can rest again at around 6,500m. After a rest and energy boost, keep hiking for a few more hours and the summit (6,962m) will be upon you. Take in the views, and snap a photo, as well!
Day 14-15: Begin your descent to Plaza de Mulas.
Day 16: Return to Mendoza.
Challenges to Expect When Climbing Aconcagua Without a Guide
One of the biggest dangers on Aconcagua is the weather which remains unpredictable even during the climbing season. You easily go from blue skies to furious storms with 90km/h winds and blizzards with hail.
So, watch the weather forecast closely throughout especially as you near the summit because a whiteout can cause navigational trouble.
Also ensure your backpack and gear are sufficient to get you safely to the summit and down, or to the hospital in case of an accident or medical emergency.
Aconcagua has an altitude of 6,962 metres above sea level. As such, proper acclimatisation is critical before undertaking a climb of this magnitude. You want to prepare your body to cope with the added stress associated with low oxygen as you climb.
You want to watch yourself and your squad for symptoms such as:
If you experience these symptoms, return to lower altitudes and get immediate medical attention.
Falling from fatigue and getting severely hurt is also common, and so are rock falls in the Canaleta as you get closer to the summit.
You also want to avoid navigational errors. Always stick to your route, even if you see something of interest. Never leave your trail or attempt to take an unknown path.
While the probability that you will be all alone is low, especially on popular routes and high season, it is better to be safe.
Bring a sat phone with a number for local rescue services already programmed, a first aid kit, and a two-way radio in case of a medical emergency, fall, or any other kind of accident.
Pack supplements and medications such as Diamox to aid your acclimatisation. You also want to have high-quality inner and outer gloves to prevent frostbite because temperatures can drop to as low as -30 degrees Celsius.
Most importantly, let a loved one know your planned route, itinerary, and planned time of return so they can take action in case you are not back as previously communicated.
Deciding on whether you can climb Aconcagua without a guide should depend on an honest assessment of your skills and fitness plus how well prepared you are for the worst-case scenario.
However, going with a guide is by far the best option. It is safer, you're more likely to successfully summit, and you don't have to deal with the headache of preparing all the logistics and figuring out what you need on your own.
Other Articles from Skyhook